Farming in Fields of Mistria
Seasons, shipping, animals, and year-round greenhouse income.
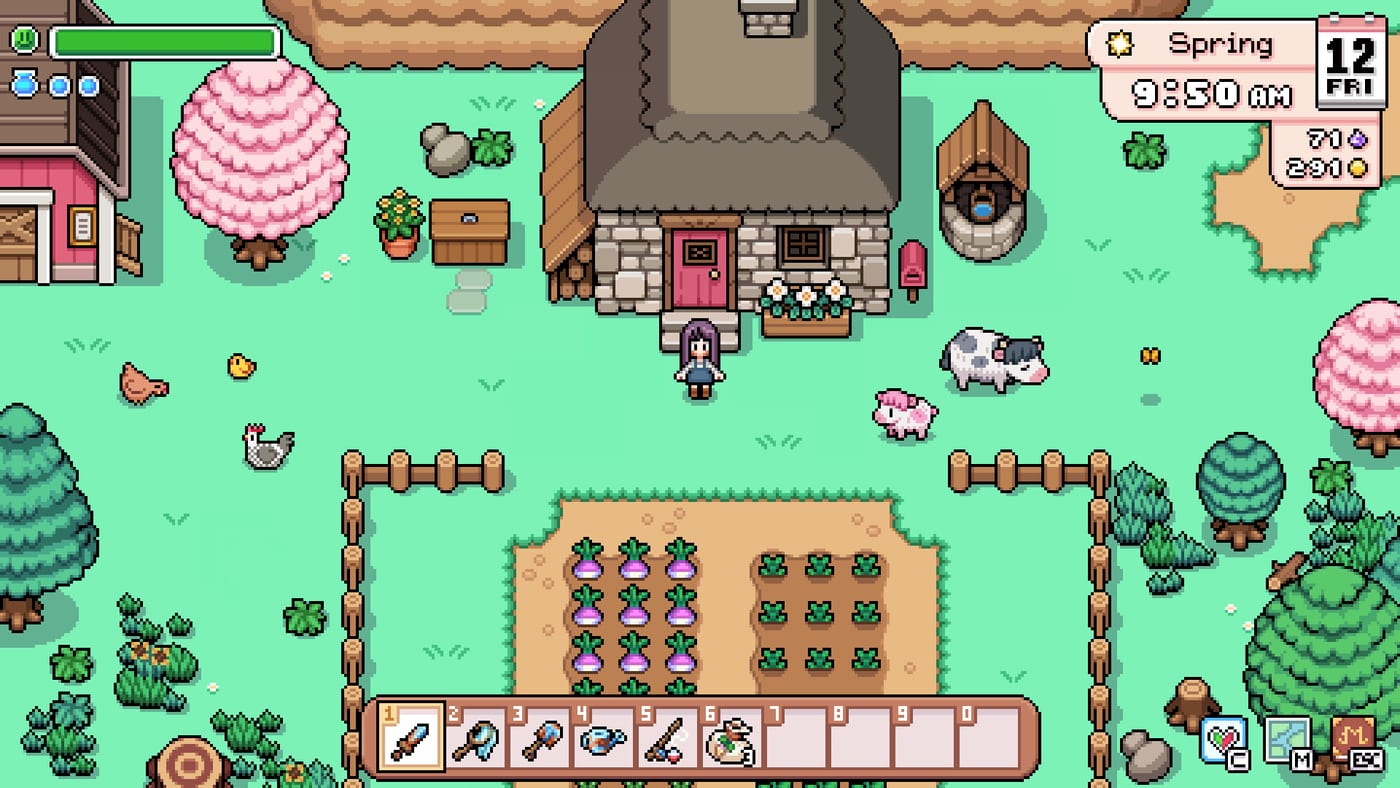
Farming is the economic engine of Fields of Mistria. Tesserae from your shipping box fund tools, seeds, museum-adjacent digs, and mine supplies while Town Rank renown scales with what you sell and donate. NPC Studio’s sim layers seasons, stamina, multi-harvest crops, and late greenhouse production on top of classic day-loop planning. This hub routes you to focused guides once you know your current bottleneck.
The daily farming loop
Every morning follows the same reliable sequence:
- Check weather and season end dates on the calendar.
- Water every active tile—or verify sprinklers and helpers if unlocked.
- Harvest regrow and multi-harvest plants before planting replacements.
- Fill the shipping box with goods not reserved for requests or gifts.
- Spend remaining stamina on forage, fishing, or mine prep.
Stamina caps how large your farm can grow early. Expand plots only when you can water them without collapsing before noon. Beginner walkthrough covers day-one habits; first week guide schedules tool purchases that support farm scale.
Seasons and planning
Mistria crops rotate by season. Planting a Summer seed in Spring wastes money; letting fields sit empty during a season transition wastes time you cannot recover until next year.
Use crops by season as your planting calendar. It lists seed costs, grow times, regrow behavior, and which crops survive in the greenhouse after your carpenter upgrade.
Winter punishes unprepared players. Greenhouse beds, animal products, and mine loot bridge the gap—see greenhouse guide and animals and ranching.
Money crops versus completion crops
Not every seed exists for profit. Some crops finish museum bundles, festival dishes, or NPC gift preferences. Profit-focused players lean on strawberries, blueberries, and cranberries for multi-harvest Tesserae, then layer fertilizer for Prismatic-quality goals.
Best money crops compares margins, labor cost, and Town Rank synergy. Pair it with Town Rank when renown stalls despite a “full” farm.
Tools and upgrades
Story quests grant hoe, watering can, axe, and pickaxe. Shop purchases add shovel and fishing rod (~500 Tesserae each) which indirectly support farming via digs and requests.
Tool upgrades reduce stamina per swing and unlock harder nodes. Mine ores feed upgrade materials—once Rank 10 opens the mines, farming and combat economies merge. Read mines overview before selling every ore you need for hoe upgrades.
Essence perks for farmers
Skill experience becomes essence at the Caldarus statue. Farming perks reduce stamina drain or improve harvest quality depending on your build. Essence choices are long-term; align them with best money crops if Tesserae is the goal, or combat perks if you mine afternoons.
Magic spells like growth auras come later from mine progression—magic and spells—not from the general store.
Animals and passive income
Barns and coops unlock through Town Rank and carpenter story beats. Animals add daily shipping with feed and petting overhead. They shine when berry fields already fill the box and you want Winter income.
Animals and ranching covers breeds, heart treats, and barn timing relative to greenhouse completion.
1.0 also adds pets (resource-gathering companions) and mounts including the Big Chicken—see Mounts and pets for unlock paths and daily jobs. Seasonal festivals tie into crop contests, dating, and ranch prizes like the Animal Festival on Winter 10.
Greenhouse: breaking the seasonal cap
The greenhouse removes outdoor season restrictions on its beds after a major carpenter upgrade—not a early-game build. Inside, players run year-round berries, regrow crops, or expensive single-harvest plants for steady boxes.
Plan the upgrade in greenhouse guide and how to unlock the greenhouse while Summer crops still fund materials.
Farming supports renown and story
Shipping raises Town Rank. Museum donations from crop-derived dishes or foraged bundles add another renown stream—museum overview.
Story unlocks like bridges and markets sometimes require shipped totals disguised as quest items. If progression gates confuse you, cross-check story unlocks checklist.
Suggested learning path
| Goal | Read first |
|---|---|
| Spring planting calendar | Crops by season |
| Tesserae stacking | Best money crops |
| Winter survival | Greenhouse + Animals + Festivals |
| Rank 10 for mines | Town Rank |
Common farming mistakes
- Over-expanding before watering stamina keeps up.
- Ignoring regrow timers and replanting berries mid-season.
- Selling Prismatic-first crops before completing bundle or request goals.
- Skipping fertilizer because up-front cost hurts—multi-harvest ROI rewards it.
Farming in Mistria is deliberately cozy but not passive. Use this hub to pick the next guide, then return when seasons change and your shipping box needs a new strategy.
Frequently Asked Questions
Quick answers to the most common questions.
Which farming guide should I read first?
Start with crops by season for planting timing, then best money crops once you want to optimize Tesserae.
What are the best early multi-harvest crops?
**Strawberries**, **blueberries**, and **cranberries** are the core early multi-harvest chain. See best money crops for fertilizer and field layout tips.
When does the greenhouse become available?
After a **carpenter upgrade** tied to town story progress—not at game start. Read greenhouse guide for requirements.
Does farming alone reach Town Rank 10?
Shipping helps, but museum donations and requests accelerate renown. Pair farming with Town Rank loops.